As a kid I’ve always liked dyeing eggs. Last year I was super excited to dye eggs with my daughter and teach her her colors while doing so and I must say it was extremely boring! … Dunk egg. Wait. Remove egg. Dunk another. Wait some more. My baby girl was bored to tears. Needless to say it can also be messy! I was so worried that I would destroy my counter tops! … Cups full of DYE? Whose idea was that!? So this year I tried to come up with a new way to dye eggs that’s both less messy and more fun than dunking eggs in dye. Oh yeah, and more green-efficient!

Here’s a quick and easy way to dye your Easter eggs this year! Use Cool Whip and food coloring! I think this is way more fun for kids to do than the traditional way. Personally, I think these came out better than the dye water if I say so myself. I completed this activity with my daughter’s preschool class and at home with my kids. This is an activity that never gets boring to kids! I must say I enjoyed it myself. Being that I knew I would be conducting this activity both at home and at my daughter’s school I opted to buy majority of my materials in bulk from Sam’s. It was definitely more cost efficient.
If you try this activity, share it with me! Take a photo of your little ones enjoying this activity and post on social media – tag @MarriedToMotherhood.
Materials:
- Eggs (hard boiled)
- Cool Whip
- Gel Food Coloring
- Vinegar
- Aluminum pan/cookie sheet
- Spoon
- Gloves (optional)
Steps:
 1. Hard boil 12 eggs. Allow cooling. Soak the eggs in a bowl of vinegar for at least 10 minutes. It’s okay if some of the eggs crack. Honestly, once the kids start to color eggs they won’t even notice the cracks.
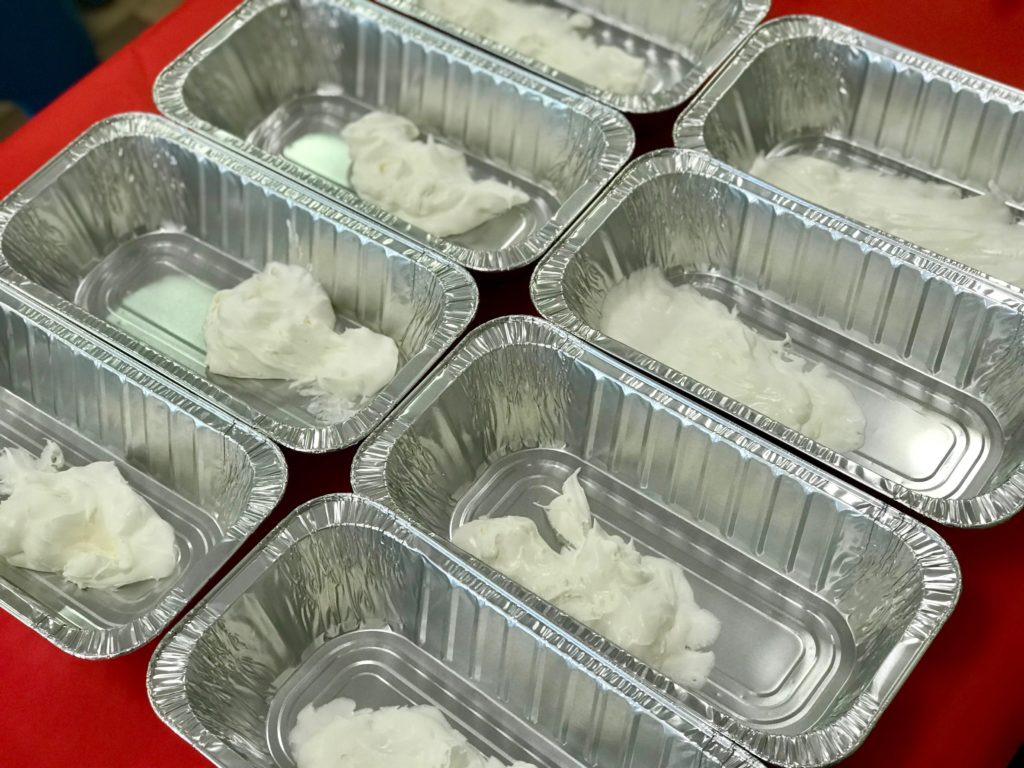
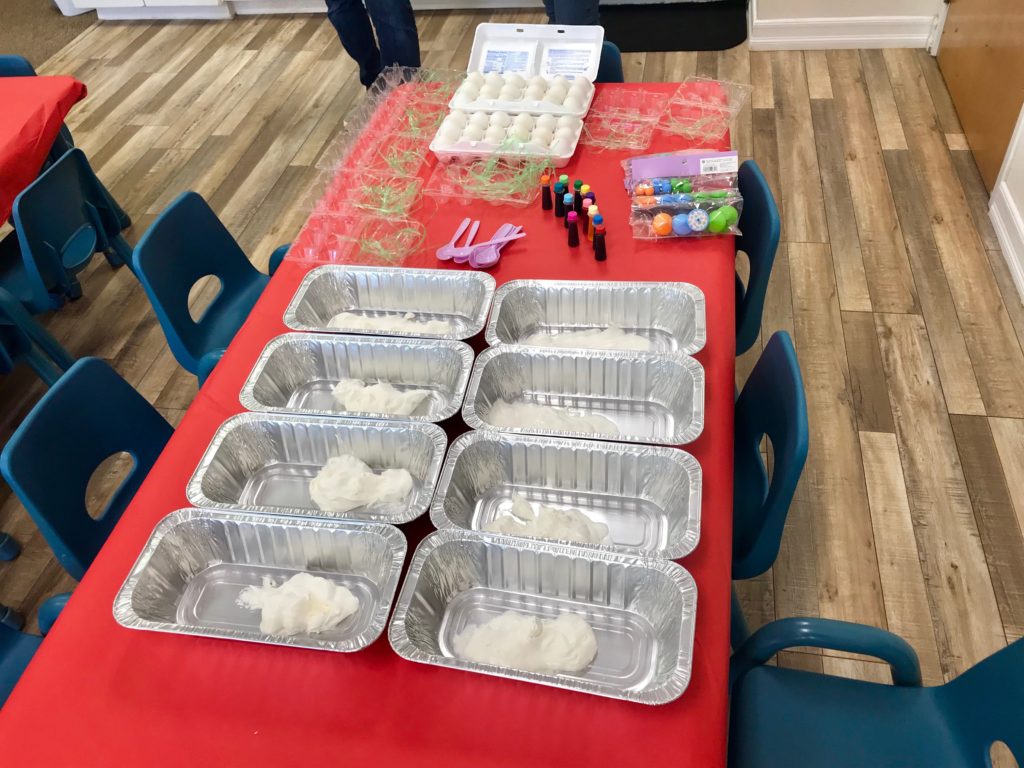 2. In a large container thaw out the Cool Whip. I would recommend taking it out at least an hour prior to the activity. Smooth out the whipped topping in a pan until it is even.
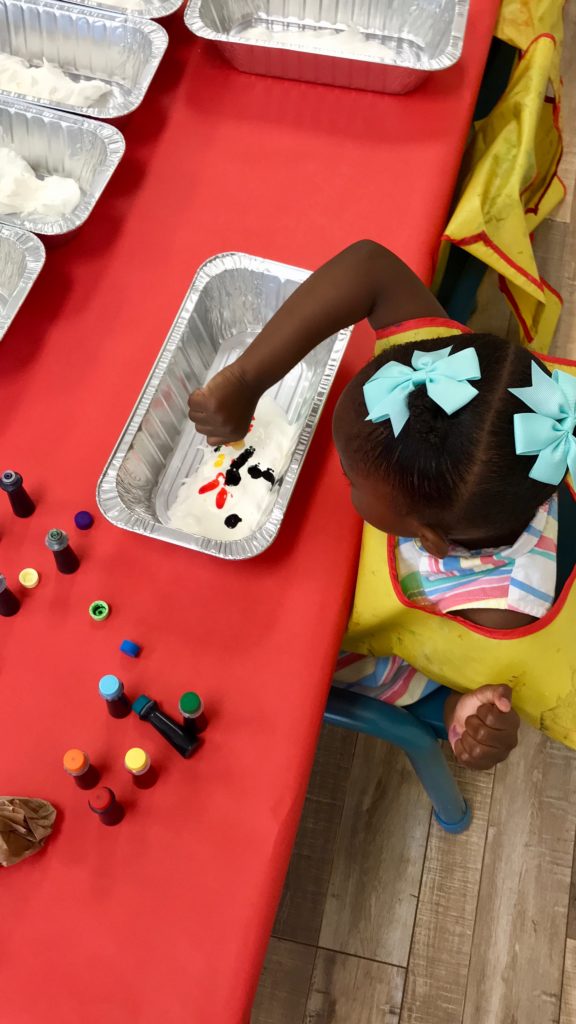 3. Using gel food coloring, mix and swirl the coloring. You can do solid colors or mix to swirl several colors. *** NOTE: It is important to use gel food coloring! Traditional food coloring will not be as dark or easily seen. ***
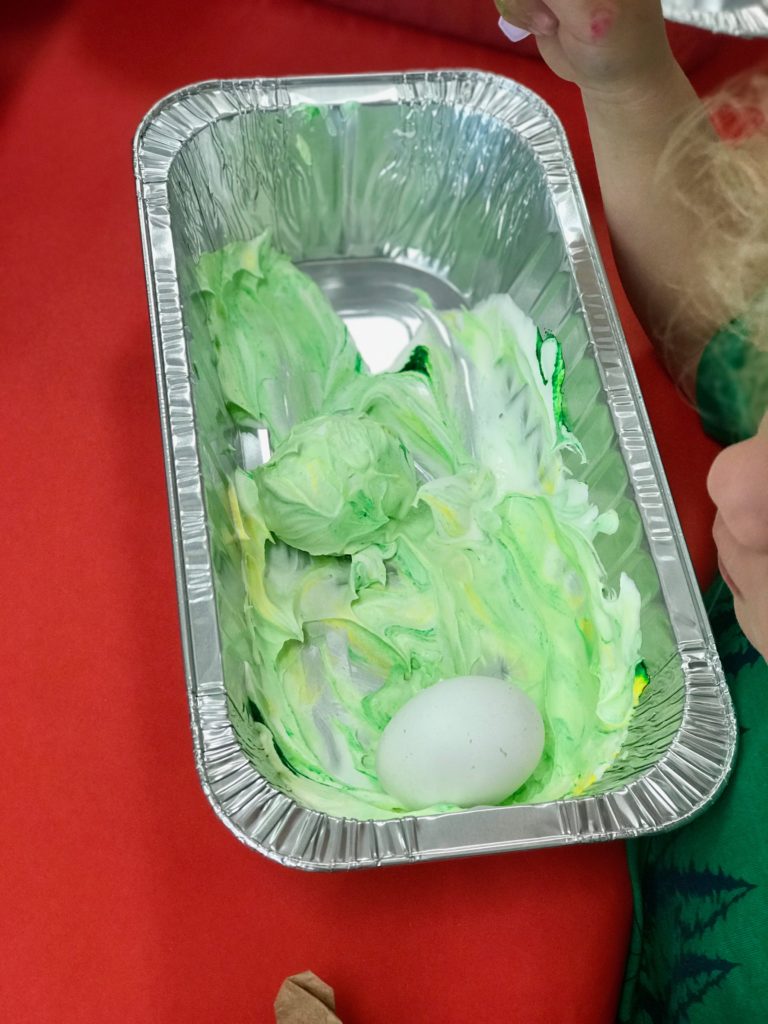 4. Place your egg in the whipped topping.
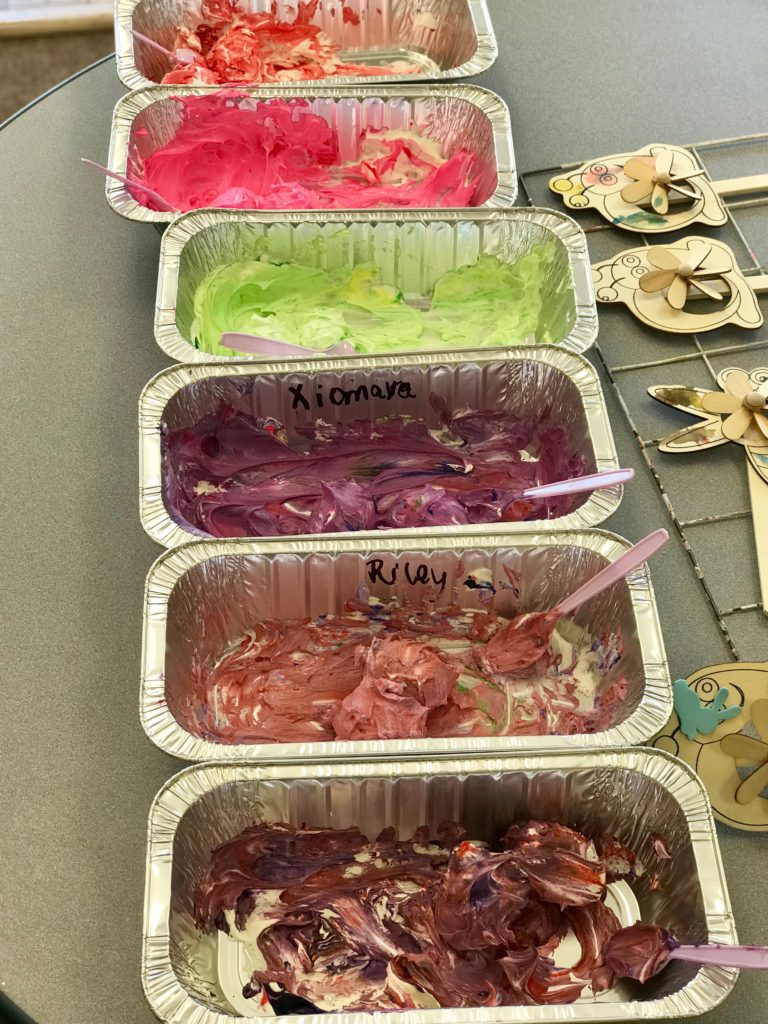 5. Spoon over to fully cover the egg. Leave it there for 15 minutes.
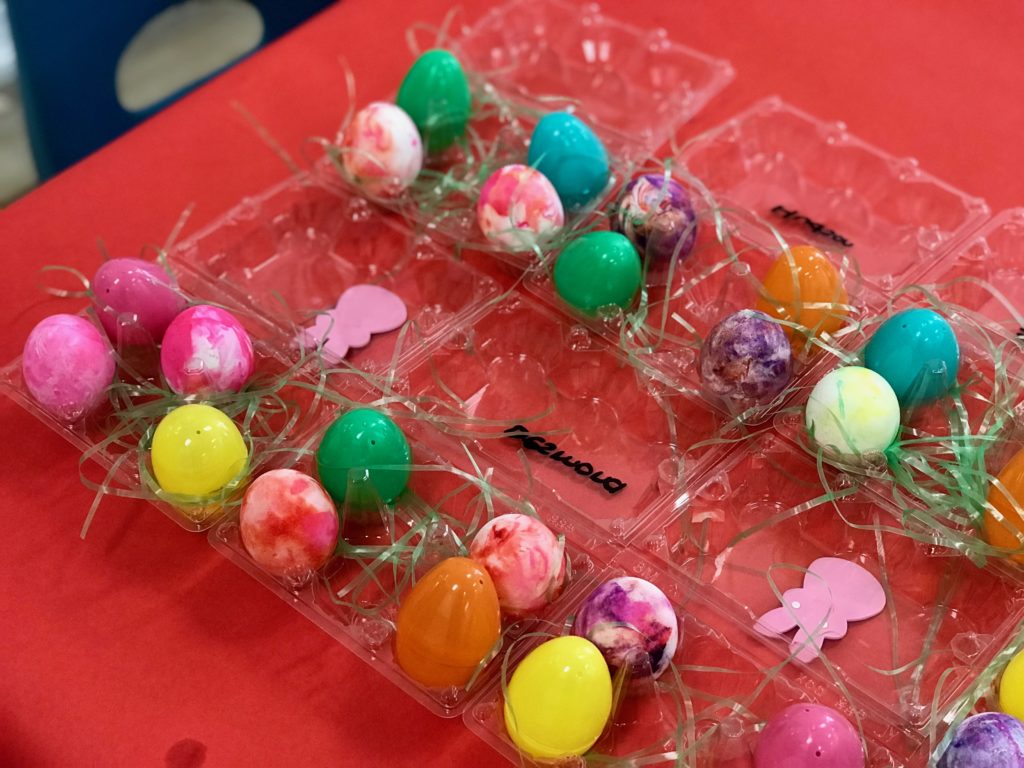 6. In a small bowl, fill it with water. Gently dunk the egg in water and swish it around. Do not rub the excess whipped cream off or run it under the tap as that will wash away the coloring.
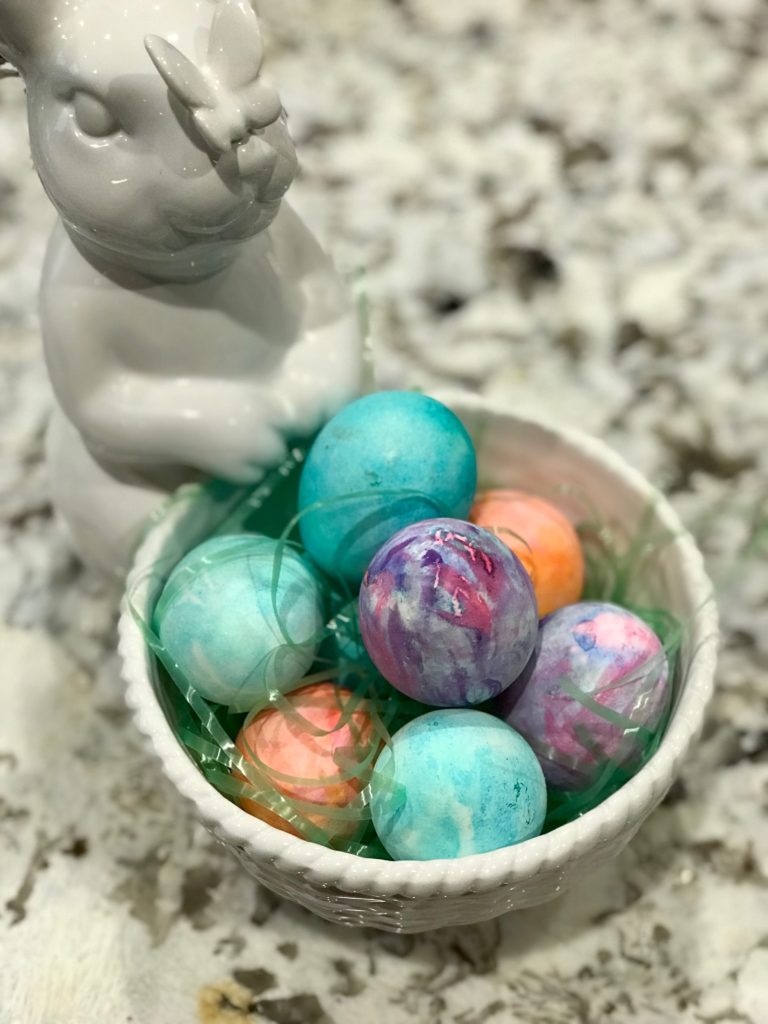 7. Allow drying time!
